Healthy Homemade Quinoa Granola

What makes this granola healthy?
Granola is a great satisfying breakfast option, but store bought granola often contains large amounts of processed sugars. This homemade quinoa granola is a lower sugar alternative which uses only 60ml/quarter cup of maple syrup or agave nectar in the entire batch. Not only that, quinoa is a super healthy seed filled with vitamins and minerals, which is high in fiber and a complete protein (it contains all of the essential amino acids!). Almonds and hazelnuts top off this granola as a nutritional powerhouse- filled with healthy fats, protein, fibre, antioxidants, vitamins and minerals.
How to make homemade granola chunky and crunchy!
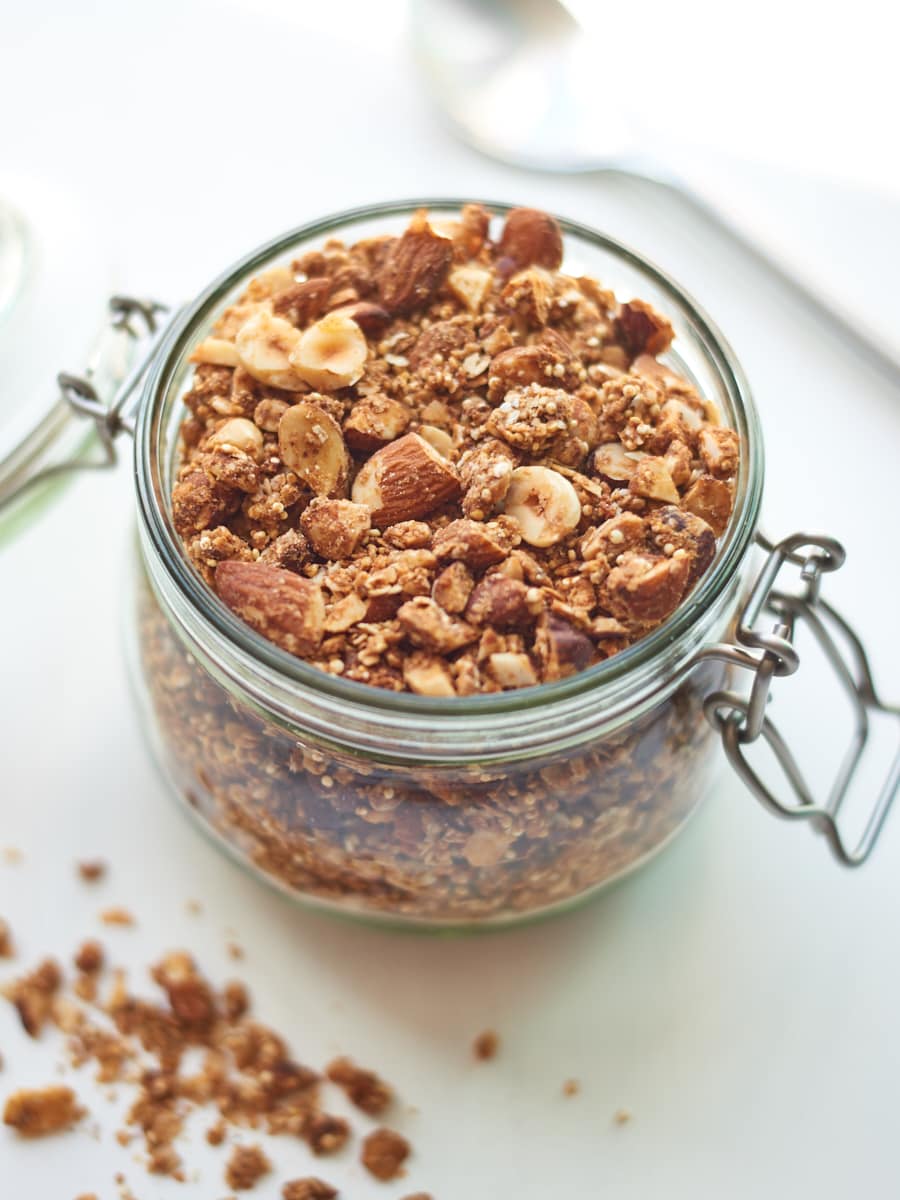
The holy grail of granola sticks together in delicious crunchy chunks, but it’s not uncommon to find homemade granola just falls apart into tiny unsatisfying pieces! This recipe uses a combination of almond butter, agave nectar and coconut oil to help everything to stick together.
However, the really important part is the process. After you’ve mixed all of the ingredients together in a bowl, you need to pack it onto a lined baking sheet. I use a 34cm baking sheet for this and it’s the perfect size. You want to lightly press the granola into a layer, making sure that the edges are slightly thicker than the centre. The edges will be the first part to cook and often the centre remains soft, and this is why it’s important that the layer is slightly thinner in the middle. By pressing the mixture down into the baking sheet, it will cook as one slab which can be broken up into chunks when cooled.

Another mistake often made with homemade granola is stirring it too much whilst cooking. If the oven is at the correct temperature, then this should only need stirring once halfway through cooking, folding gently to bring some of the softer centre bits to the edge. After stirring, make sure to press everything down again like you did at the start, to allow it to continue cooking as one.
How to make quinoa granola
Making this granola really couldn’t be easier. First, mix the wet ingredients (almond butter, maple syrup, coconut oil, and vanilla). I warm this up to help them combine, either in a pan, or in the microwave. You just want the coconut oil to melt and for everything to get a bit more liquid-y.


In a bowl, mix the oats, quinoa, chopped almonds and hazelnuts, salt, cinnamon and ground flaxseed. Pour the wet ingredients into the bowl and mix well.
Now, as outlined above, line a 30-40cm baking sheet. If you haven’t got one this size, you can fill a large baking sheet half way instead. Press the mixture lightly into the baking sheet, making the layer a bit thicker around the edges. Place in a preheated oven at 160 degrees for 20 minutes. Stir halfway through, gently bringing the softer centre parts to the edges, and press down again.


After removing from the oven, it’s really important to leave it cool! It will get harder and crunchier as it cools, so this is a really important step. Prepare yourself- it’s going to smell amazing when it comes out of the oven and it’s going to be really hard to resist!

Once it’s cooled completely on the sheet (even overnight if you can manage), break it up into chunks and transfer it to an airtight container ready to eat!
Granola substitutions

Granola recipes can be easily substituted as long as you keep the ratios the same. Here’s some ideas on how to make my recipe your own:
- Try subbing the nuts for your favourites- I love pecans in granola (they’re perfect in this spiced pear granola!) and pistachios could make for an interesting alternative.
- Use your favourite nut butter- try peanut butter for a really nutty flavour or cashew butter for a subtle take.
- Not sure about vanilla and cinnamon? Why not make chocolate orange granola! Swap vanilla for orange essence and stir through some chocolate chips at the end.
What should I eat with granola?

I’m slightly granola obsessed, so I’ll tell you that this goes with anything. However, for the less granola obsessed who just want a healthy breakfast or snack option- this is great simply with milk or yoghurt, sprinkled over fruit, as a topper for overnight oats, warm oatmeal, or chia pudding or porridge; or my favourite, with peanut butter and apple!
How long does homemade granola keep?
Keep homemade granola for up to a month in an airtight container. If I’m honest, I can never make it last that long! If you’d like to keep it for longer, pop it in the freezer for up to 6 months in a resealable freezer bag or box. Leave it out on the counter overnight to thaw for the next morning. Simple!
Now that breakfast is sorted, how about lunch?
These are some of my favourite lunch recipes to meal prep:
- Mexican Buddha bowl with fajita veg
- Thai vegan peanut noodles
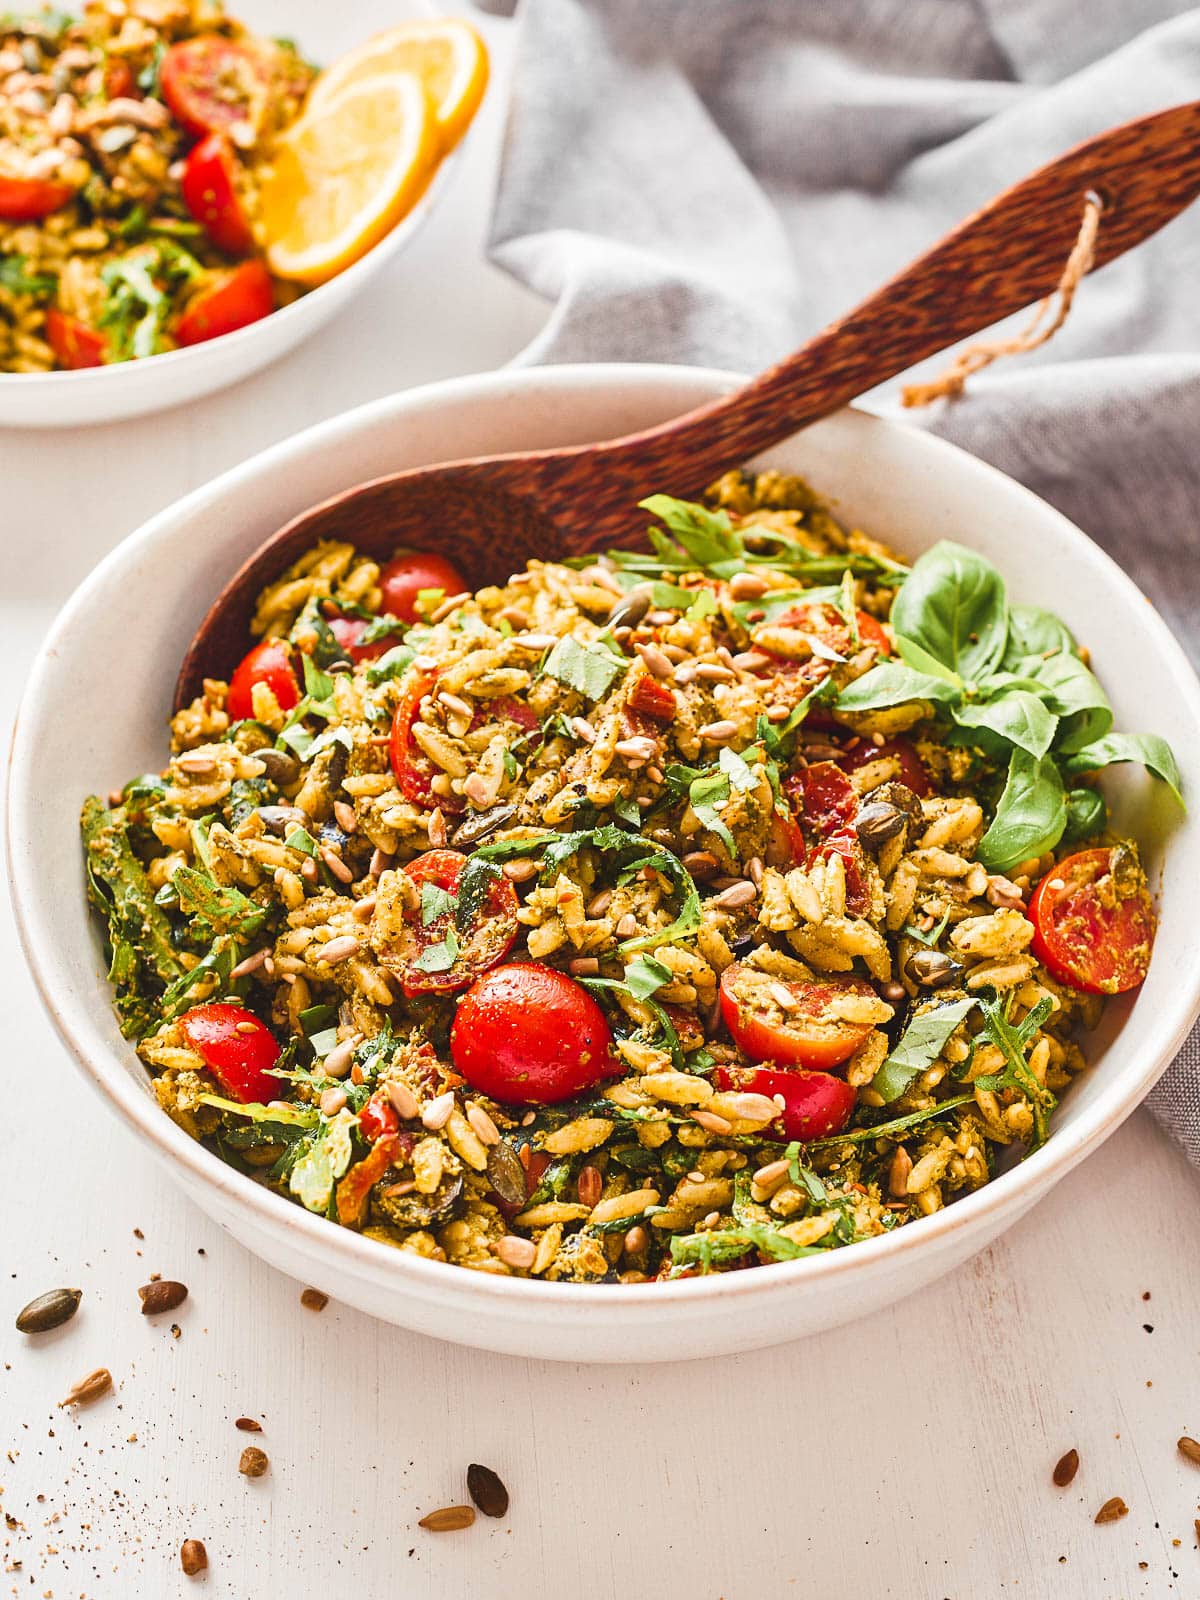
- Vegan pasta salad with Mediterranean vegetables
- Miso edamame and cauliflower salad
Enjoy!

Healthy Homemade Quinoa Granola
Ingredients
- 60 ml maple syrup
- 120 ml almond butter smooth
- 1 tbsp coconut oil
- 1 tsp vanilla extract
- 100 g rolled oats
- 100 g quinoa
- 150 g almonds roughly chopped
- 150 g hazelnuts roughly chopped
- ½ tsp salt
- 1 tsp ground cinnamon
- 2 tbsp ground flaxseed (optional)
Instructions
- Preheat the oven to 160°/fan 140°/gas mark 3.
- Melt maple syrup, almond butter, coconut oil and vanilla together in a small pan over a low heat, or in the microwave to form a smooth mixture.
- Combine oats, quinoa, almonds, pecans, salt, cinnamon, and ground flaxseed (if using) in a separate large bowl.
- Pour the wet mixture into the dry and mix well to combine.
- Transfer mixture to a lined 30cm baking sheet. Press down lightly*, and bake in the oven for 30 minutes. Stir gently half way through cooking, ensuring that you press the granola back down again before returning to the oven.
Notes
Made this recipe?
I’d love to know how you got on- let me know how it turned out in the comments below!
Or if you’d rather you can Pin it, or share it on Facebook (forkfulofplants) or Instagram (forkful_of_plants). Don’t forget to tag me!
Want to hear more from me?
Sign up to my newsletter below and I’ll make sure you’re the first to know when I post a new recipe!
Did you cook the quiona before adding to the oats?
Hi Linda, no the quinoa goes in raw 🙂
Can i substitute the nuts with seeds/dried fruit?
Hi Mel- yes you can, but it will be a little less crunchy/chunky 🙂